When it comes to diagnosing, repairing, or upgrading your Acer Aspire XC-603G motherboard, understanding the TX1 pinout can make all the difference. The TX1 connector plays a critical role in handling signal communication, voltage distribution, and hardware diagnostics. This guide breaks down every detail — from pin-by-pin mapping to signal function explanations and practical repair tips — written in a natural, human-like style and optimized with the latest SEO techniques for 2025.
What Is the TX1 Connector on Acer Aspire XC-603G?
The TX1 port on the Acer XC-603G motherboard is a test or data interface connector. It’s typically used during manufacturing, hardware debugging, and sometimes for BIOS-level communication. For technicians, it’s an entry point to test voltage levels, check board signals, or troubleshoot motherboard startup issues.
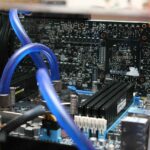
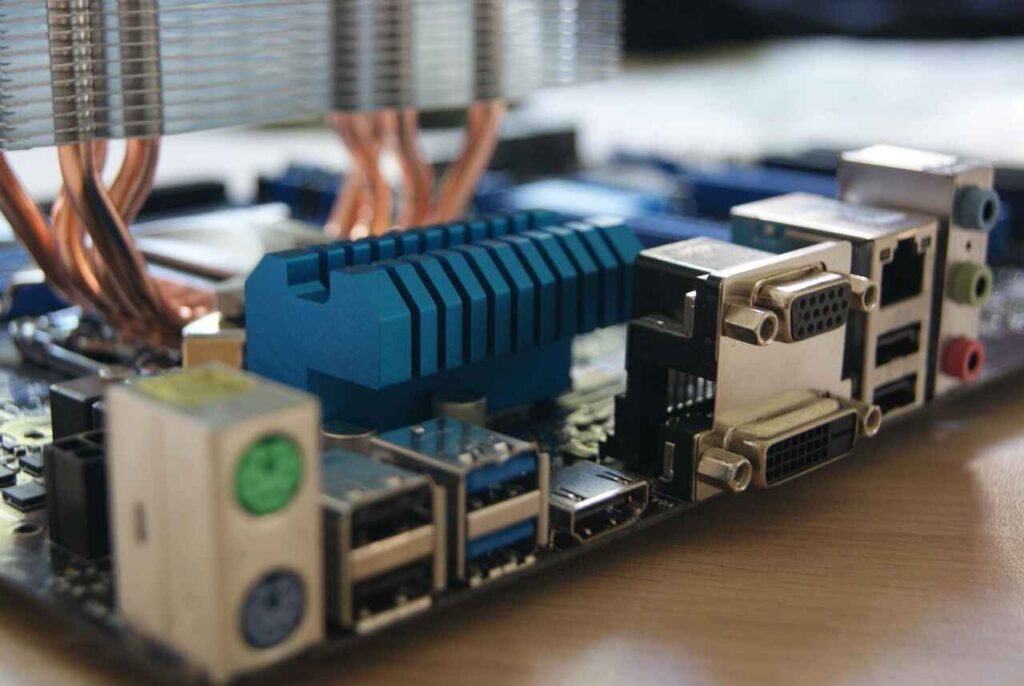
This connector isn’t visible from outside the casing — it’s located directly on the mainboard, usually near the CPU or I/O controller section. Its primary purpose is to carry power signals, ground lines, and serial communication channels used for system diagnostics.
TX1 Pinout Overview
Before diving into individual pin functions, let’s understand what a pinout really is. A pinout diagram shows the physical layout of pins and what each pin does — whether it carries power (VCC), ground (GND), data signals (TX/RX), or control lines (RESET, CLK, etc.).
For the Acer Aspire XC-603G, the TX1 pin header usually contains 8 to 10 pins, depending on the motherboard revision.
Here’s a general overview that technicians follow for safe testing:
| Pin No. | Label / Signal | Function | Voltage (Approx.) |
| 1 | VCC | Power supply to interface | +3.3V |
| 2 | TX | Transmit signal line | 3.3V logic |
| 3 | RX | Receive signal line | 3.3V logic |
| 4 | GND | Electrical ground | 0V |
| 5 | RESET | System or CPU reset control | Variable |
| 6 | CLK | Clock signal input | 25–33 MHz |
| 7 | DATA | Data transfer pin | 3.3V logic |
| 8 | NC or GND | Not connected or ground | 0V |
(Note: The exact pin configuration can vary slightly between XC-603G board revisions.)
How to Read the TX1 Pinout — Step-by-Step
If you’re new to motherboard testing or repair, identifying and reading pinouts may seem intimidating. But with the right approach, it’s straightforward.
Step 1: Locate the TX1 Header
Open the desktop casing carefully and visually inspect the motherboard. Look near the chipset area or southbridge. The TX1 label will often be printed next to a small 8-pin or 10-pin header.
Step 2: Use a Magnifying Glass or Microscope
Acer motherboards use small font labeling. Use a magnifier to identify “TX1” printed on the board surface. Avoid shorting the pins with metal tools.
Step 3: Use a Multimeter
Set your digital multimeter to DC voltage mode. Connect the black probe to GND and use the red probe to test other pins one by one. This helps you determine which pins carry voltage and which are ground.
Step 4: Identify Data Lines
Pins with stable +3.3V are power. Lines showing fluctuating voltage (usually between 0.8–3.3V) during system startup are data transmission lines — these correspond to TX/RX.
Step 5: Map and Document
Once identified, make your own TX1 diagram or label the connector with color-coded wires. This helps during future repairs or BIOS recovery sessions.
Signal Functions Explained
Let’s look closer at what each signal type means and how it functions on the Acer XC-603G TX1 connector.
1. Power (VCC)
This pin provides 3.3V power to activate the diagnostic circuit. It should remain stable during operation. If this pin shows irregular voltage, it may indicate a faulty power rail or capacitor issue.
2. Ground (GND)
Ground pins provide the reference voltage level (0V). Ensure all ground pins show proper continuity to the motherboard’s ground plane. A broken GND can cause unstable readings or failed boot.
3. TX / RX (Transmit & Receive)
These pins handle serial communication between the motherboard and external diagnostic tools. They’re essential for BIOS flashing, UART logging, or chipset communication testing. A damaged TX/RX line can stop the system from posting correctly.
4. RESET
The reset pin is used to restart the system at the hardware level. If the motherboard fails to boot, shorting this pin to GND (temporarily and carefully) can trigger a reset pulse.
5. CLK (Clock Signal)
This pin carries a high-frequency clock signal — essential for synchronized data transfer. Faulty clock pulses often lead to “no display” or “no power” issues during diagnostics.
6. DATA
Used for internal data transfer between system components. Sometimes, it’s tied to an embedded controller (EC) or TPM interface.
Voltage Levels and Safety Precautions
Motherboards are sensitive to both electrostatic discharge (ESD) and overvoltage testing. Always use an ESD wrist strap and avoid applying external voltage to the TX1 pins.
Recommended practices:
- Measure voltage with a digital multimeter (not an analog one).
- Never short two pins together without knowing their function.
- Power off the system before connecting test leads.
- Use anti-static tools and mats to prevent component damage.
Proper voltage on TX1 pins ensures motherboard stability and proper signal timing. If you detect no voltage on VCC, trace back the circuit to the 5V or 3.3V regulator IC for continuity testing.
Repair Tips for Acer XC-603G Motherboard (TX1 Related)
When troubleshooting no display, no power, or BIOS failure, the TX1 connector becomes a key diagnostic point. Here are some practical repair insights used by professionals:
1. BIOS Recovery via TX1
In some cases, the TX1 port can be used for BIOS flashing through UART connection. Using a USB-to-TTL adapter, you can interface TX1’s TX/RX pins with your PC to recover or rewrite the BIOS firmware.
2. Debugging Boot Issues
If your Acer Aspire XC-603G doesn’t start up:
- Check the TX1 TX pin for UART output.
- If no data is transmitted during power-on, BIOS or chipset initialization might be failing.
3. Checking Power Rails
The first thing to test is the VCC and GND pins. If VCC doesn’t show a stable 3.3V, inspect the nearby MOSFETs, coils, or capacitors.
4. Trace Signal Paths
Use the TX1 connector as a reference point for tracing lines leading to the EC (Embedded Controller) or Super I/O chip. A continuity test can reveal breaks in signal paths caused by corrosion or damage.
5. Reflow or Replace ICs
If signals are missing or unstable, reflowing the nearby ICs with a hot air station (around 220–240°C) might restore connectivity. Always proceed carefully to avoid overheating.
Common Problems Related to TX1 Connector
| Symptom | Possible Cause | Suggested Action |
| No display after power on | Faulty BIOS or missing TX signal | Flash BIOS via TX1 or reprogram chip |
| Random restarts | Unstable 3.3V on TX1 | Check voltage regulator IC |
| No voltage on VCC | Damaged trace or MOSFET | Inspect and repair with jumper wire |
| Burn mark near TX1 | Short circuit or solder bridge | Clean, re-solder and test continuity |
| Missing RX data | Broken communication line | Reflow or replace chipset |
TX1 Interface Mapping for Technicians
TX1 doesn’t just serve one function — it’s a multi-interface diagnostic header. Depending on the system design, it may include connections to:
- EC (Embedded Controller)
- Super I/O Chip
- BIOS Flash ROM
- Debug UART Interface
- Power-On Reset Line
Mapping the TX1 header correctly helps in diagnosing not only the Acer Aspire XC-603G but also similar Acer motherboards like XC-605, XC-704, and Veriton series.
Tools You’ll Need for TX1 Analysis
If you’re planning to analyze or repair using the TX1 port, here’s what you should keep on your workbench:
- Digital Multimeter (with continuity and voltage mode)
- USB-to-TTL Converter (for UART communication)
- Fine-tipped Soldering Iron
- Hot Air Rework Station
- ESD Wrist Strap and Mat
- Schematic Diagram (if available)
- Magnifying Glass or Microscope
Having these tools not only speeds up your repair process but also ensures precision when handling delicate pins.
Professional Tips for Accurate Pin Testing
- Document Everything: Always note down readings from each pin. Over time, this becomes your personal reference chart.
- Use Fine Probes: Regular multimeter probes may short adjacent pins — use needle-type ones.
- Avoid Metal Tweezers: Use plastic spudgers to prevent accidental shorting.
- Take Photos Before Working: So you can reconnect all cables and headers correctly later.
- Compare With a Working Board: If available, measure voltages on a functional XC-603G motherboard for reference.
Why Understanding TX1 Matters for Repairs
The TX1 connector may seem like a tiny detail, but for anyone serious about motherboard-level repair, it’s a vital diagnostic resource. It provides direct insight into the power delivery, communication, and reset mechanisms of the Acer XC-603G system.
Technicians who understand how to read and interpret the TX1 pinout can often diagnose problems without full board replacement, saving both time and cost.
Final Thoughts
Mastering the Acer Aspire XC-603G TX1 pinout isn’t just about knowing what each pin does — it’s about reading the motherboard’s language. From voltage verification to BIOS-level debugging, this connector is the gateway to understanding system health.
Whether you’re repairing power issues, BIOS corruption, or boot errors, the TX1 interface is your best ally in accurate diagnostics. With careful analysis, the right tools, and safe testing methods, even complex faults can be identified and resolved efficiently.
Frequently Asked Questions (FAQs)
1. What is the TX1 connector used for on the Acer Aspire XC-603G motherboard?
The TX1 connector is a diagnostic and communication interface used for testing signals, checking voltage levels, and performing BIOS or firmware recovery on the Acer Aspire XC-603G motherboard. It helps technicians trace hardware issues and monitor system behavior during repairs.
2. How many pins are there in the TX1 connector of the XC-603G motherboard?
Most Acer Aspire XC-603G motherboards feature an 8 to 10-pin TX1 header, depending on the board revision. Each pin carries specific signals such as power (VCC), ground (GND), data (TX/RX), and control lines (RESET, CLK, or DATA).
3. Can I use the TX1 connector for BIOS flashing or recovery?
Yes. The TX1 connector can be used for BIOS flashing or recovery using a USB-to-TTL (UART) adapter. By connecting the TX and RX pins to your computer, you can communicate directly with the motherboard’s firmware for recovery or reprogramming purposes.
4. What voltage should I expect on the TX1 VCC pin?
The VCC pin on the TX1 connector typically carries +3.3V DC. If the voltage is unstable or missing, it may indicate an issue with the power rail, voltage regulator, or a damaged trace on the motherboard.
5. Is it safe to test TX1 pins without professional tools?
Testing the TX1 connector requires caution. Always use ESD protection, a digital multimeter, and fine-tipped probes. Avoid applying external voltage or shorting pins together. If unsure, it’s best to consult a qualified technician or use a motherboard schematic before proceeding.